How to Create & Add Products?
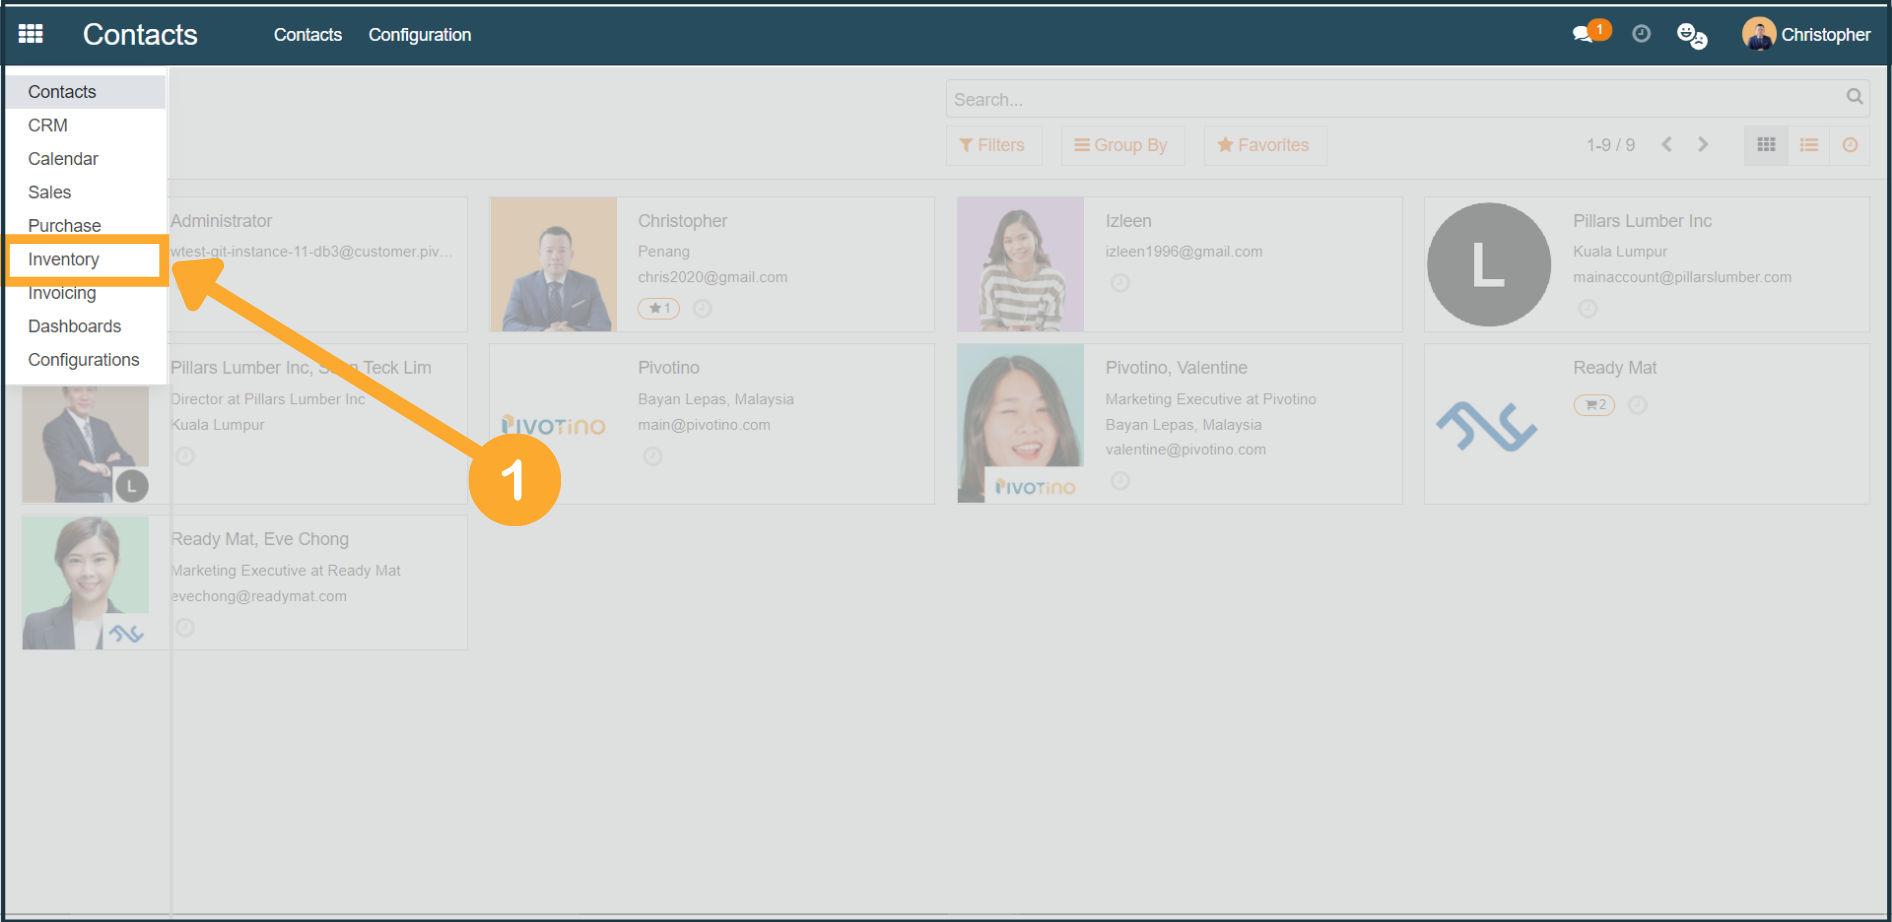
1. To create/add a new product, first, click "Inventory" at the dropdown menu.
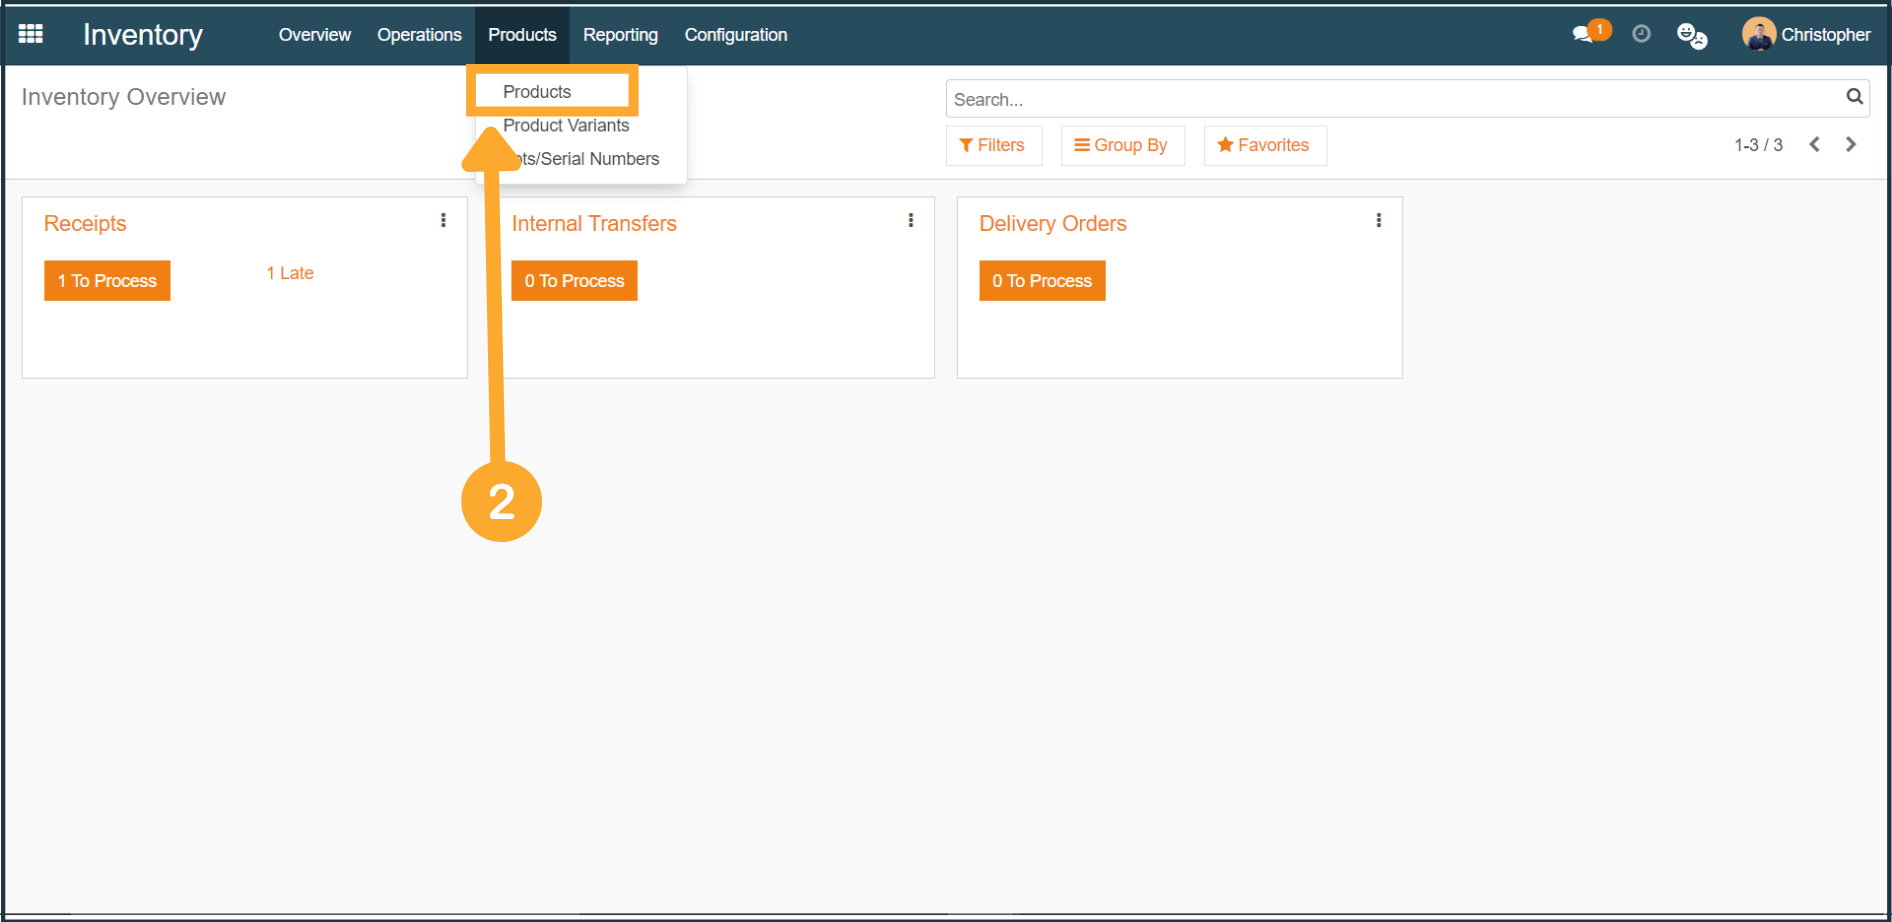
2. At Inventory, click "Products" from the top menu bar, then proceed to click "Products" from the dropdown menu.
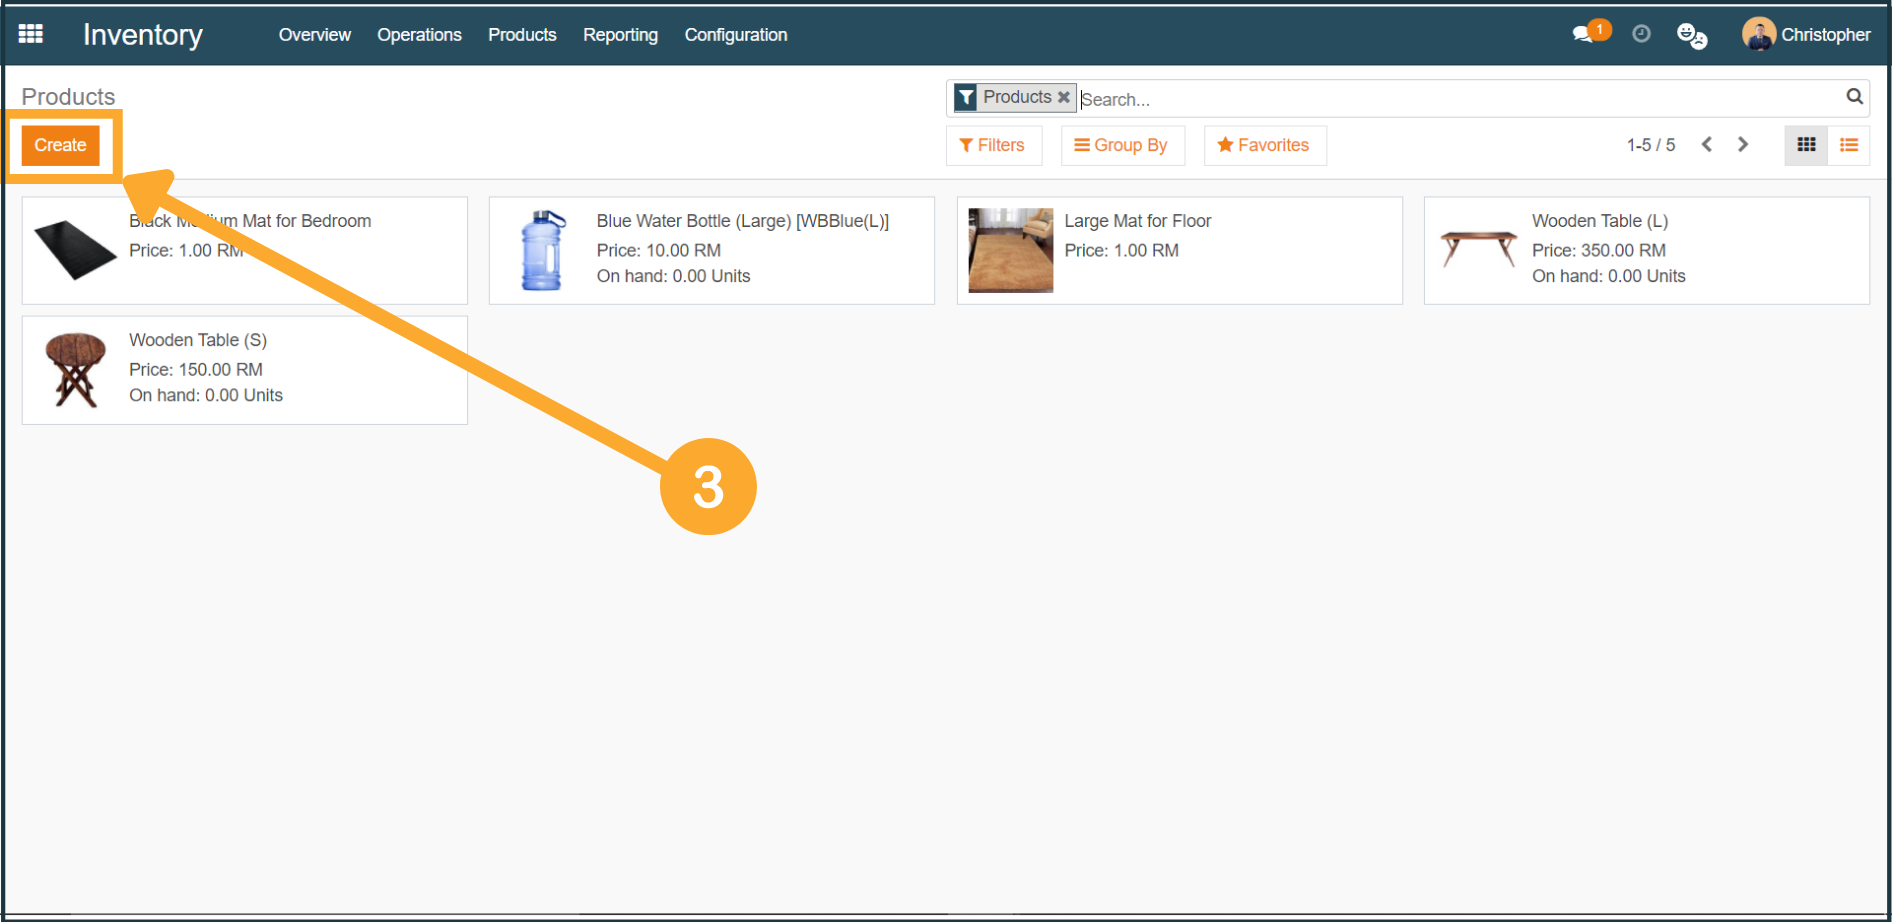
3. Upon reaching the Products page, click "Create".
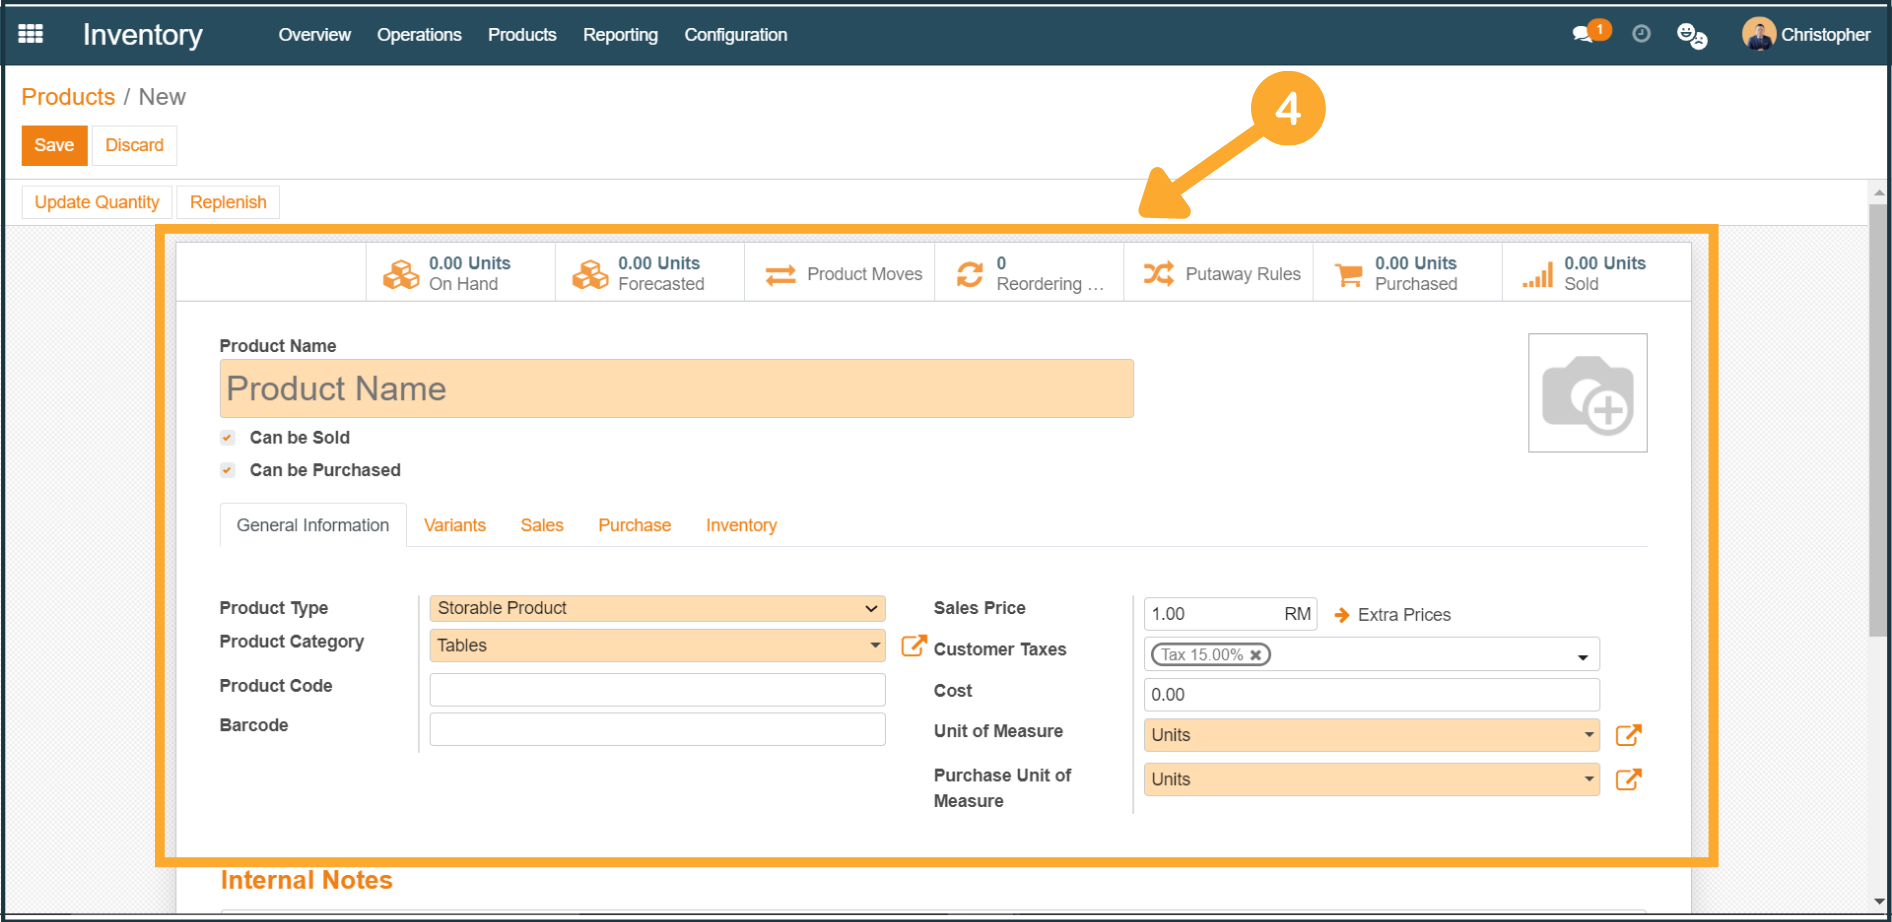
4. After clicking "Create", a new product form will be shown to you. Proceed to fill in the necessary information that is related to the product.
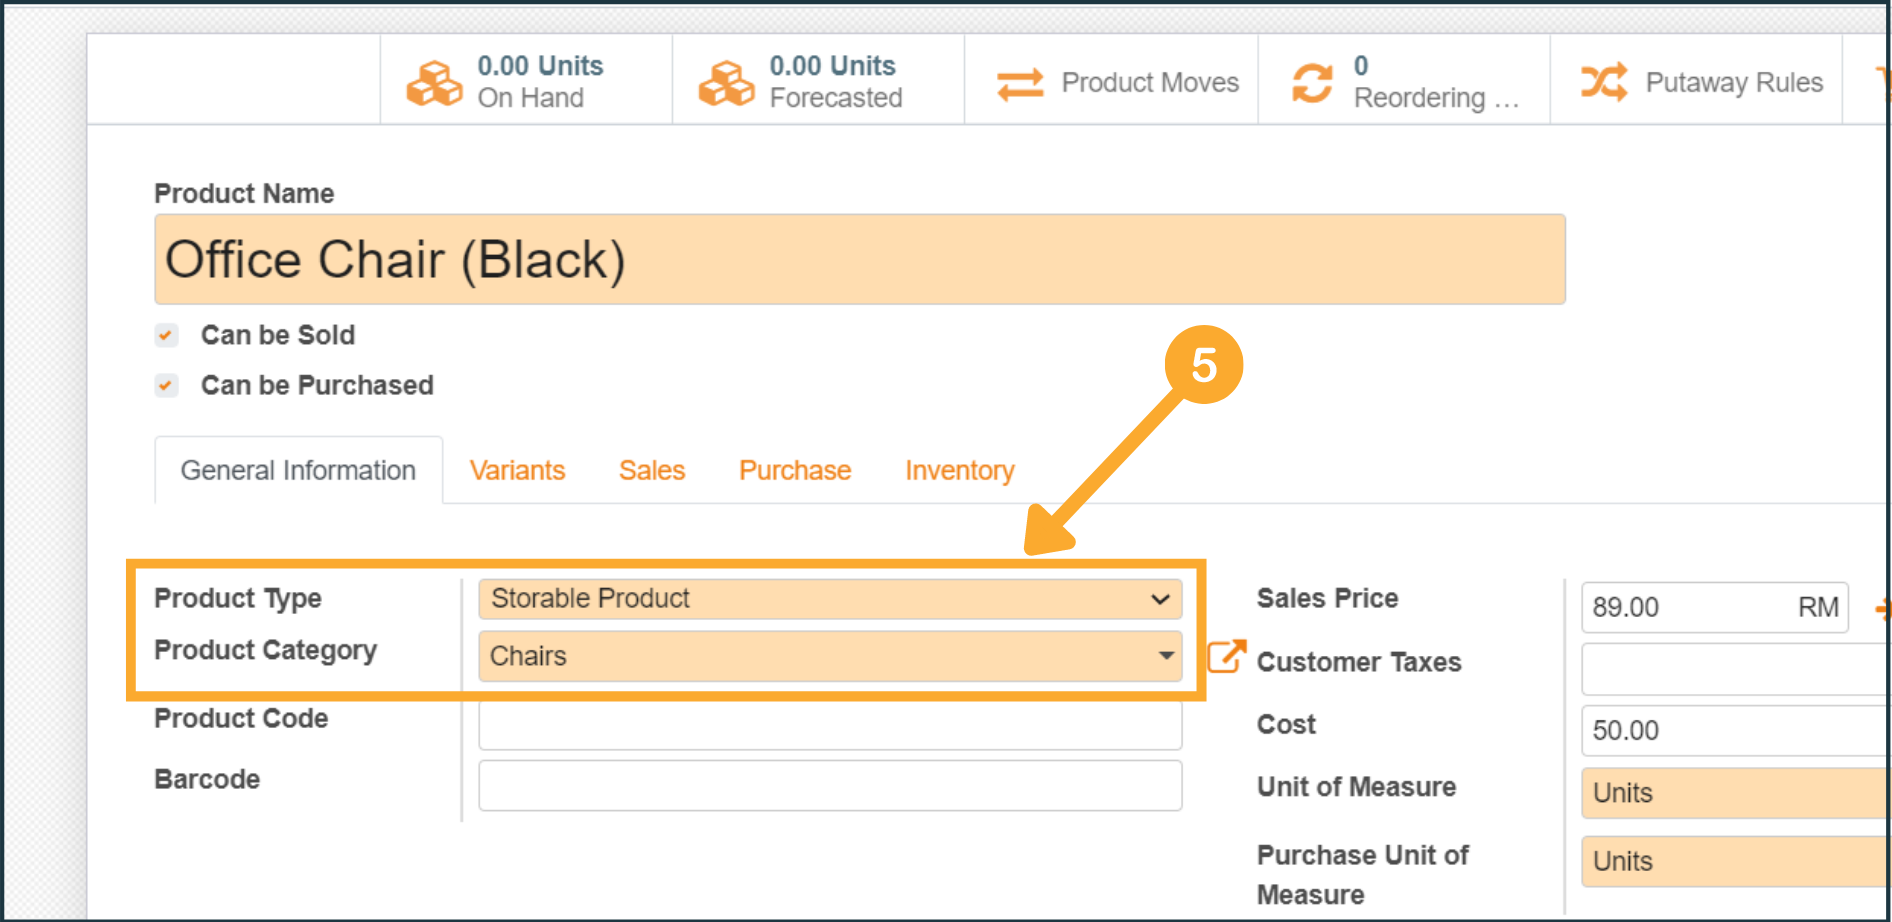
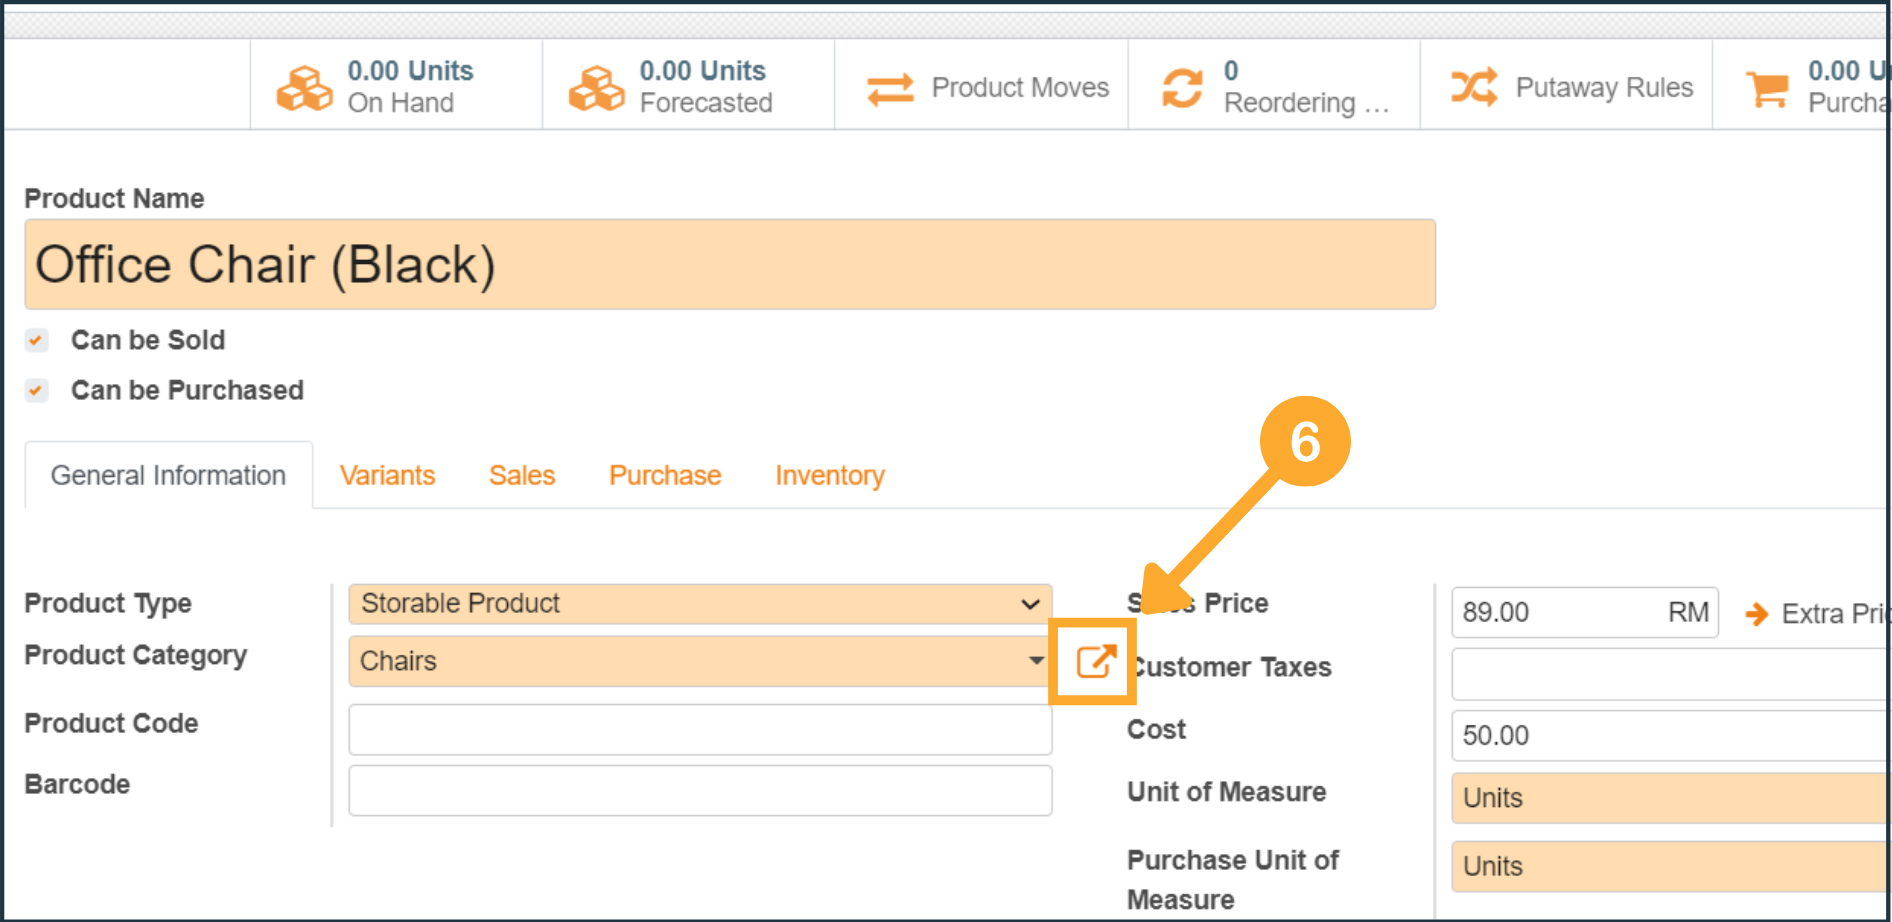
5. At the General Information tab, the Product Type and Product Category are highly advised to be configured according to your own business needs.
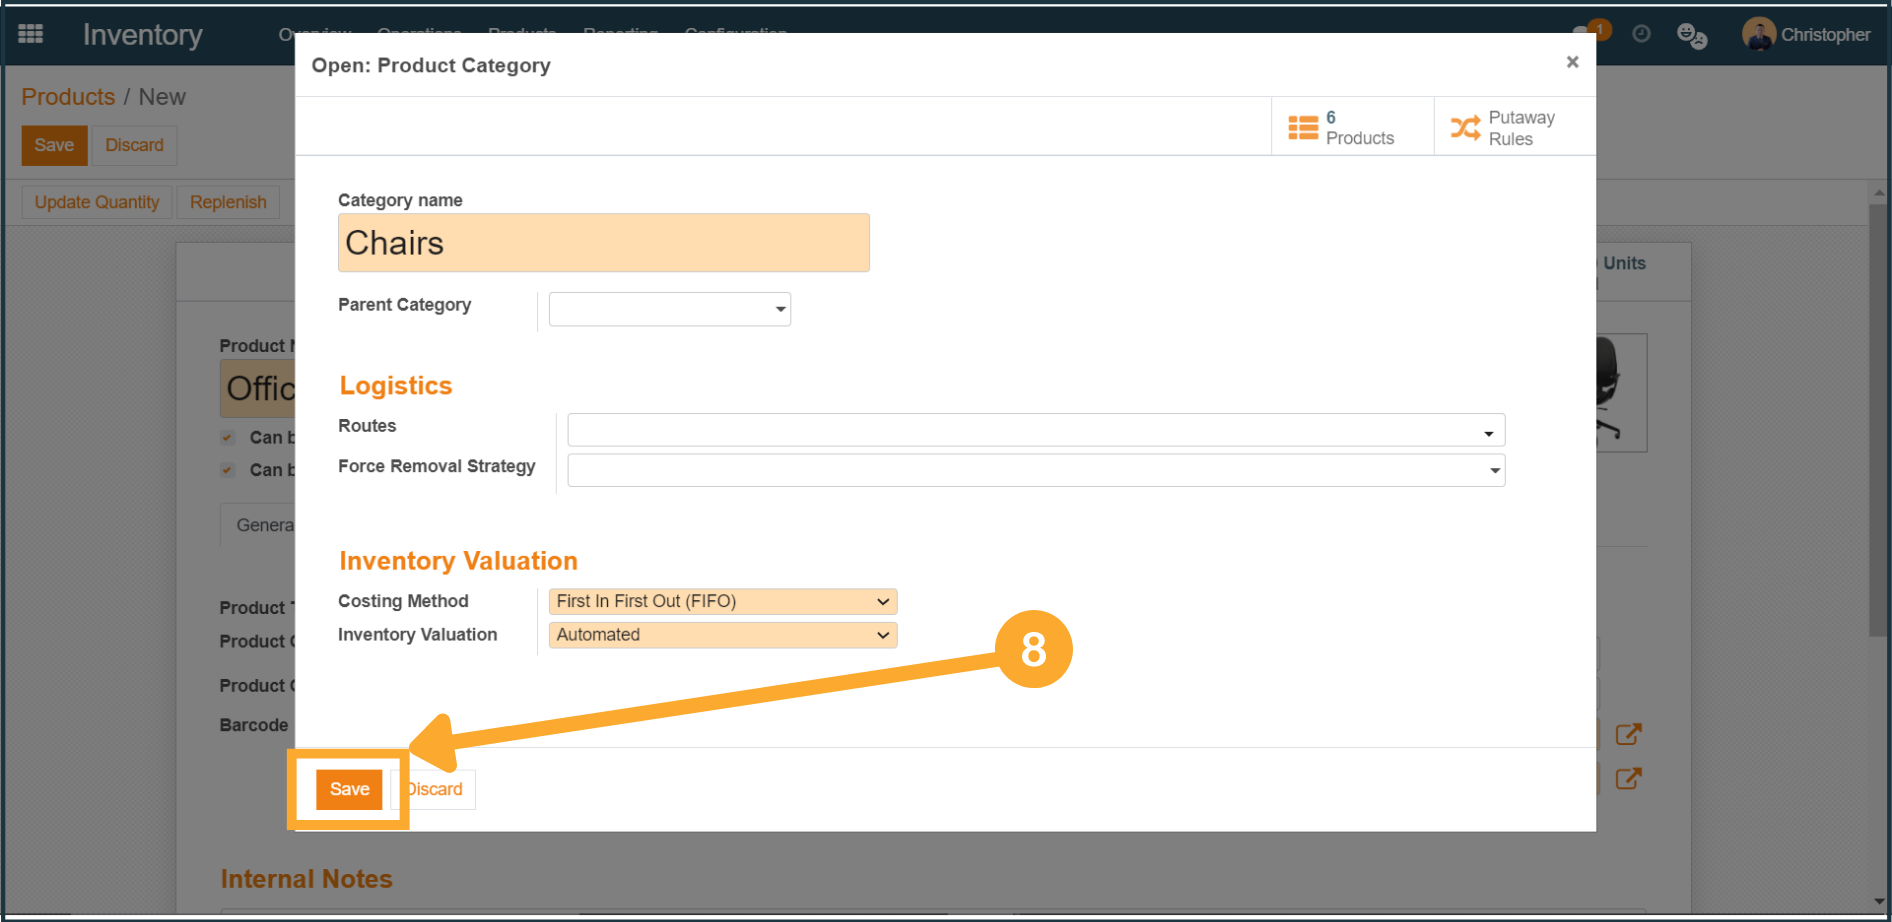
6. To configure the Product Category, click on the "Edit" icon. After clicking, the Product Category window will be shown to you. Proceed to fill in the necessary information.
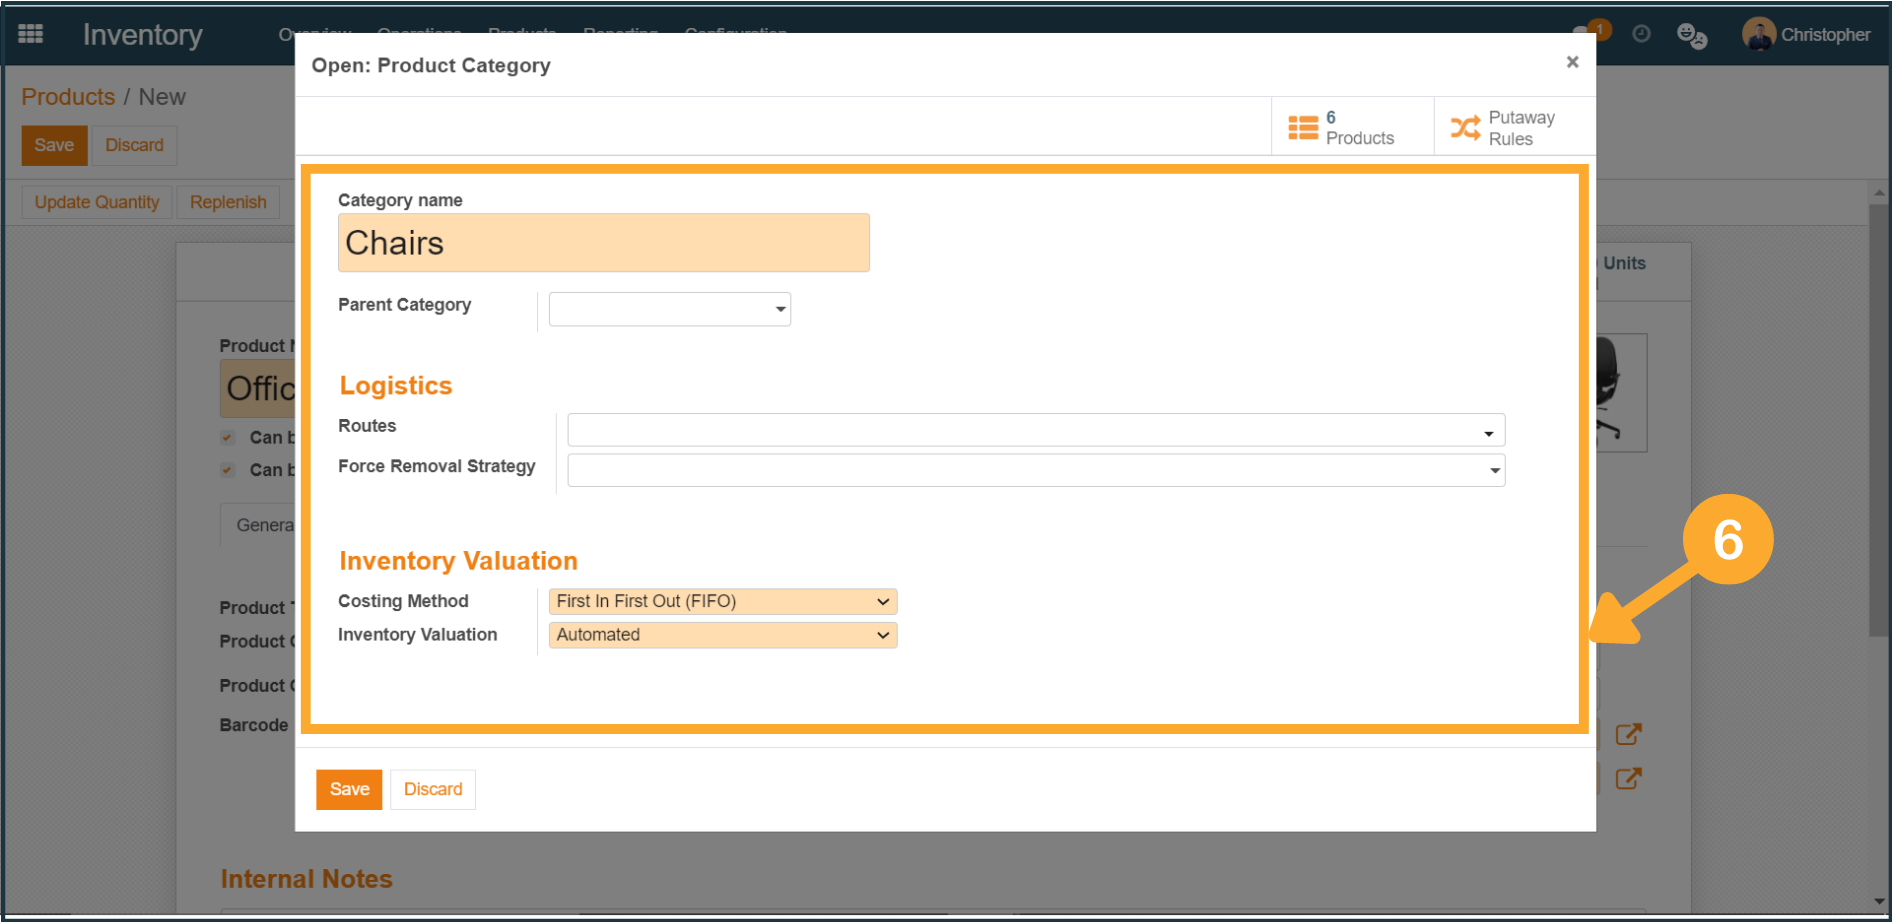
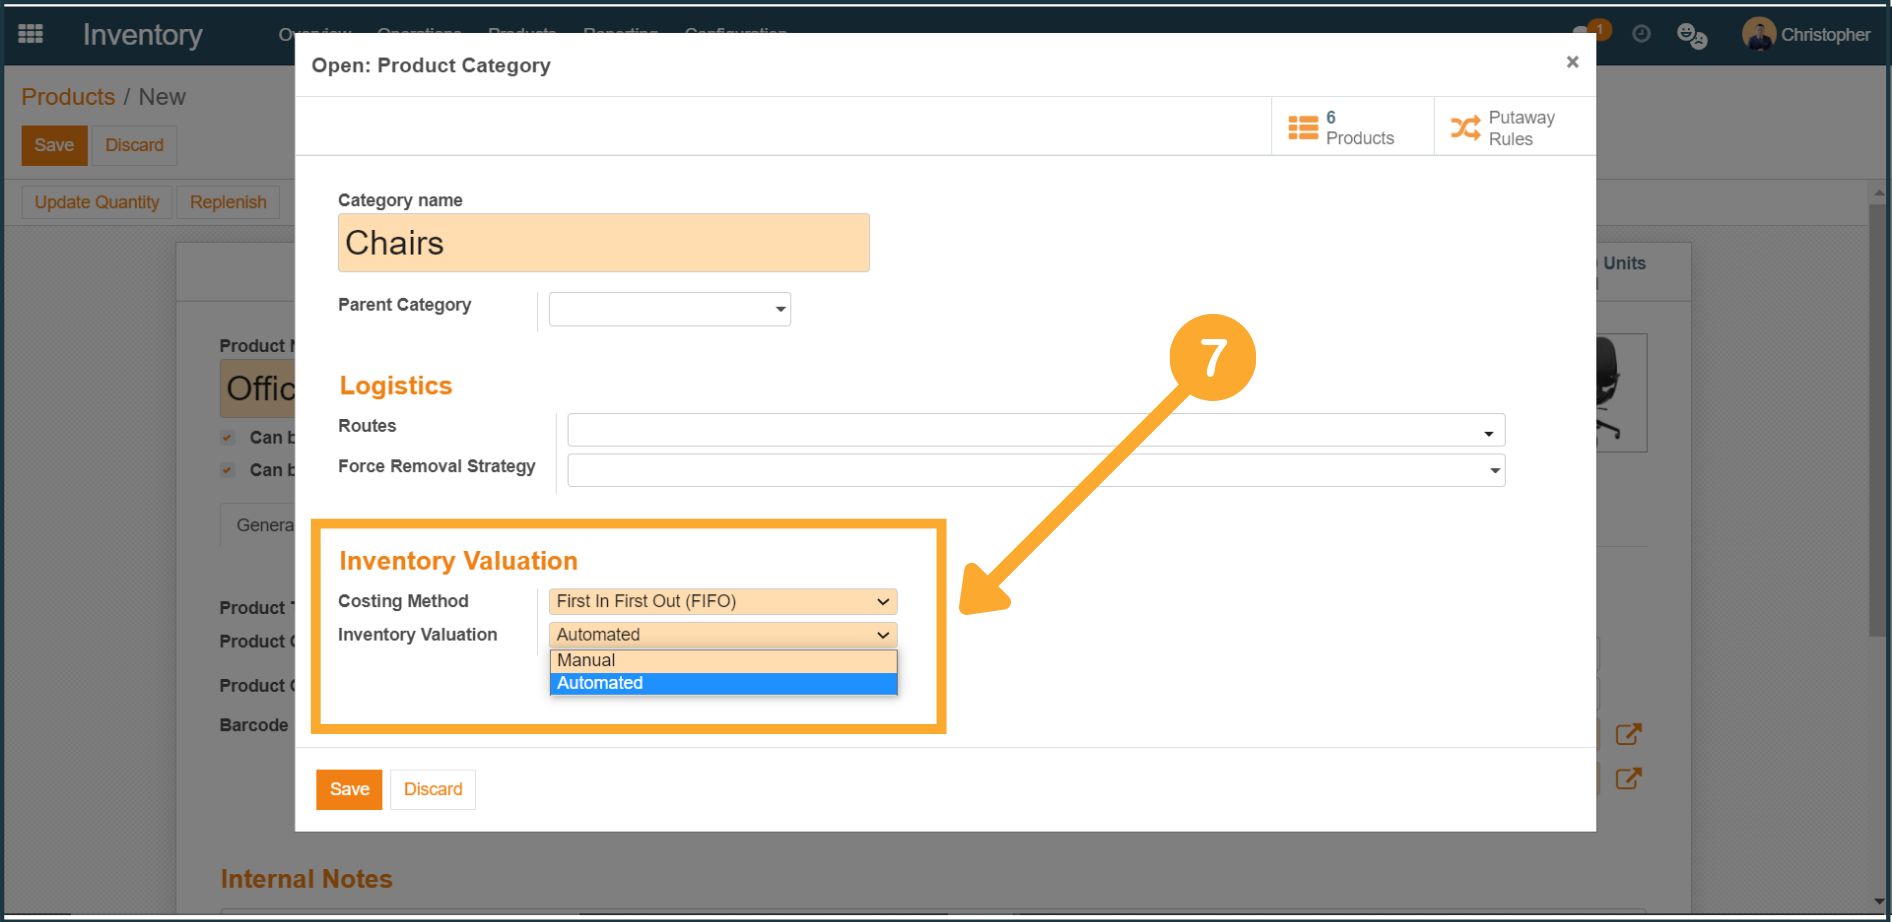
7. At the Product Category window, you will be able to configure the Costing Method and Inventory Valuation.
Costing Method:
Standard Price - The products are valued at their standard cost defined on the product.
*First In First Out (FIFO) - The products are valued at weighted average cost.
Average Cost (AVCO) - The products are valued supposing those that enter the company first will also leave it first.
*Recommended settings

Inventory Valuation:
Manual - The accounting entries to value the inventory are not posted automatically.
*Automatic - An accounting entry is automatically created to value the inventory when a product enters or leaves the company.
*Recommended settings